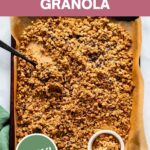
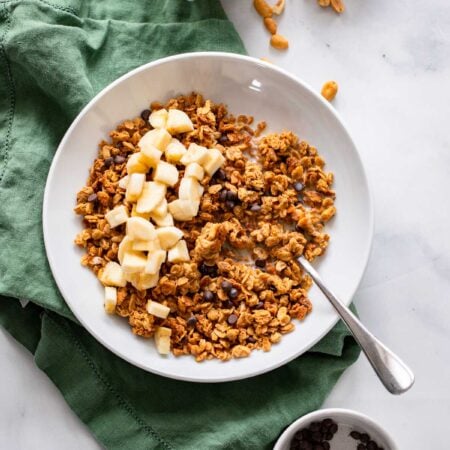
No one can resist this homemade peanut butter granola made with old fashioned rolled oats, maple syrup, and chopped peanuts. Great for snacking or serving with fresh fruit and milk for a healthy breakfast.

This post was originally published January 2018; updated March 2023.
It’s the weekend which means it is the perfect time to heat up the oven and make a batch of this homemade healthy peanut butter granola. I seriously wish my blog had smell-o-vision because this granola smells delicious! It had been ages since I made a batch of easy homemade granola until I made this easy peanut butter granola recipe for the first time a couple weeks ago.
If you really want to class it up, serve this granola parfait style with strawberries. Here’s the recipe for my favorite easy strawberry parfait with granola. You could also serve it on top of my my vegan protein overnight oats. Yum! Want to serve it with brunch? Check out my vegan brunch recipe roundup with 30+ ideas!
Why You’ll Love this Recipe
- A delicious, crunchy granola recipe packed with yummy peanut butter flavor.
- Great for meal prep for a healthy breakfast option for the week or as a yummy snack.
- This homemade granola recipe is vegan, dairy free, egg free, and gluten free if you use gluten free certified oats.
Ingredients You’ll Need
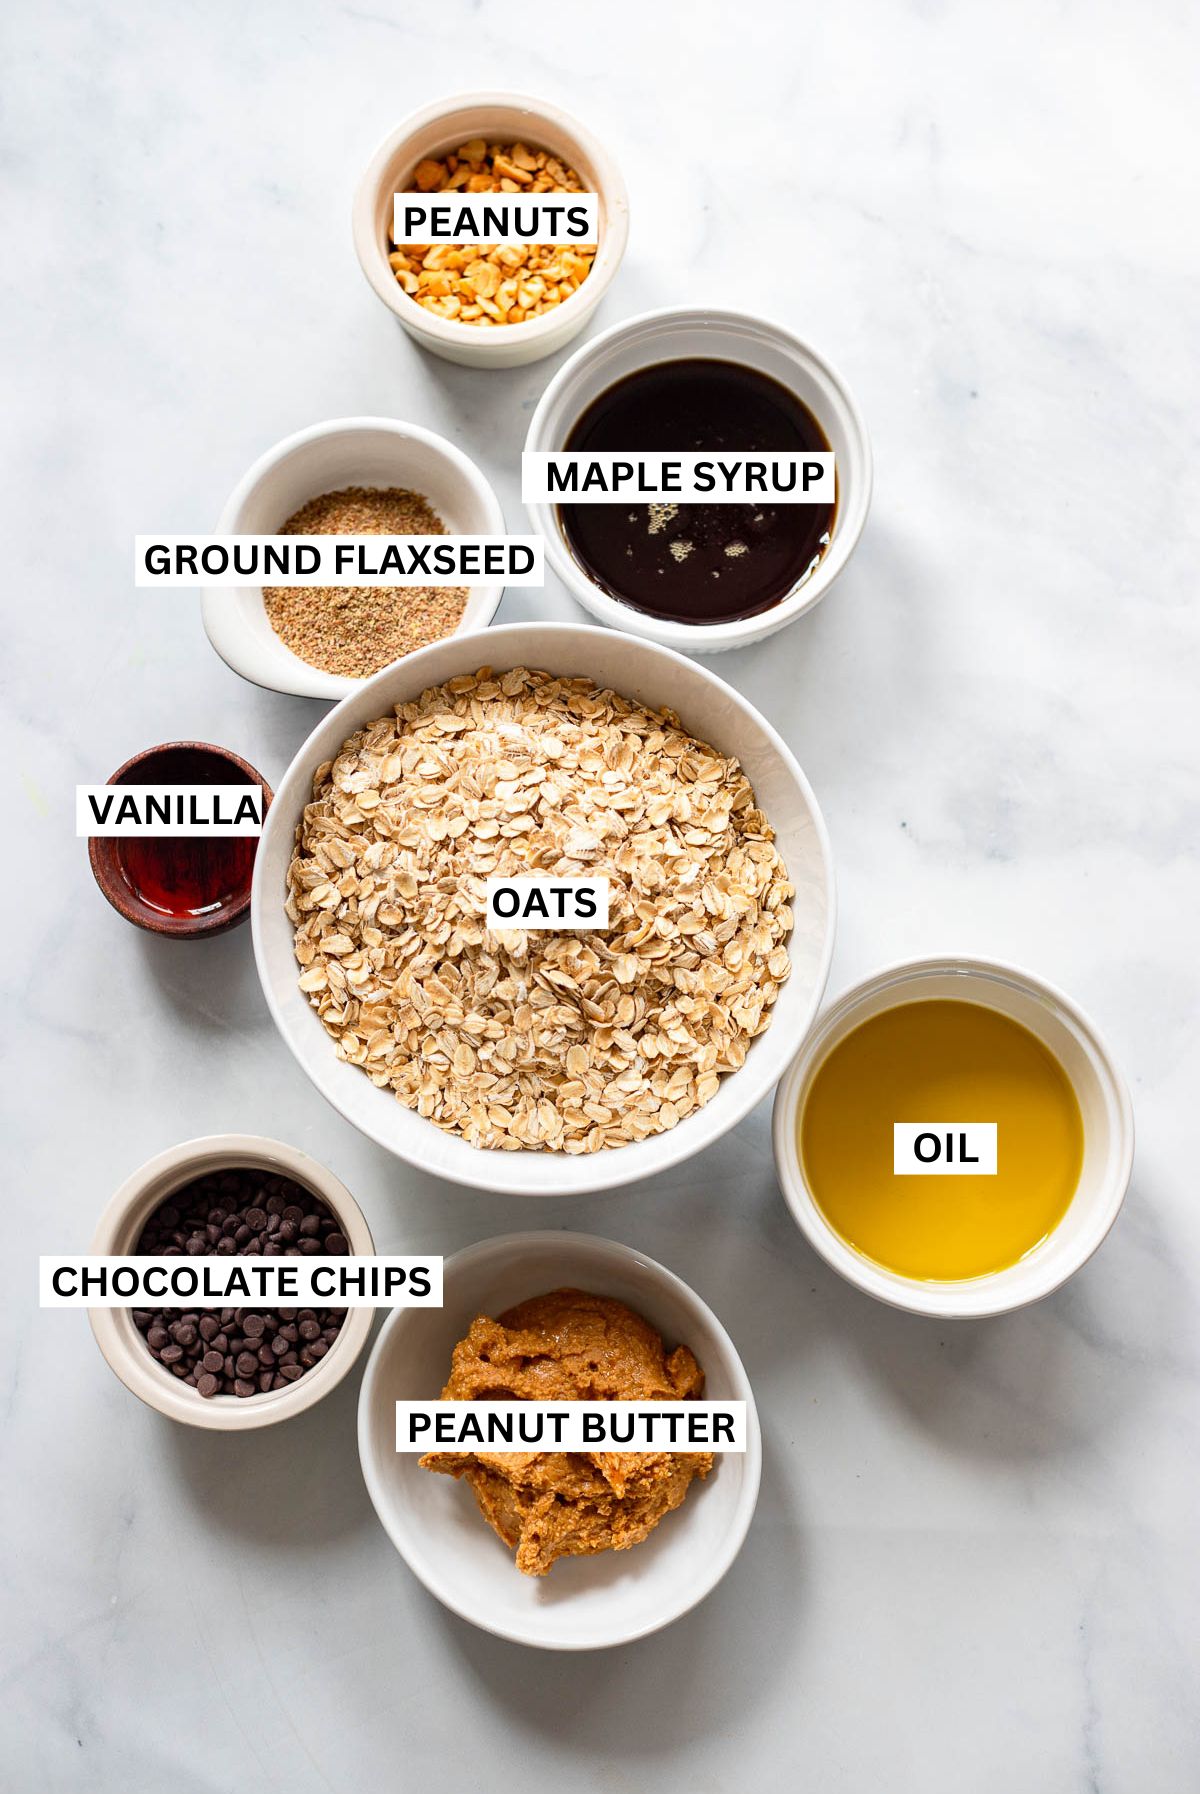
- Old Fashioned Rolled Oats: I like the texture of old fashioned rolled oats best, but you can use quick oats. You just want to avoid steel cut oats. Make sure to buy gluten-free certified old-fashioned oats if you want to make a gluten free granola.
- Peanut Butter: peanut butter adds tons of nutty flavor to this granola as well as healthy fats. You’ll want to use a creamy peanut butter for this recipe rather than chunky. If using a natural peanut butter, make sure that it is well stirred. You can even also use homemade peanut butter.
- Maple Syrup: naturally sweetens the granola and pairs well with the peanut butter in this vegan granola recipe.
- Oil: I like the flavor that olive oil adds to the granola but you can also use a different neutral oil like vegetable oil, coconut oil, or avocado oil.
- Ground Flaxseeds: I like to add some ground flaxseeds to my granola recipes to help the granola clump better since I like chunky granola.
- Chopped Peanuts: Add a bit of extra crunch with a few chopped peanuts.
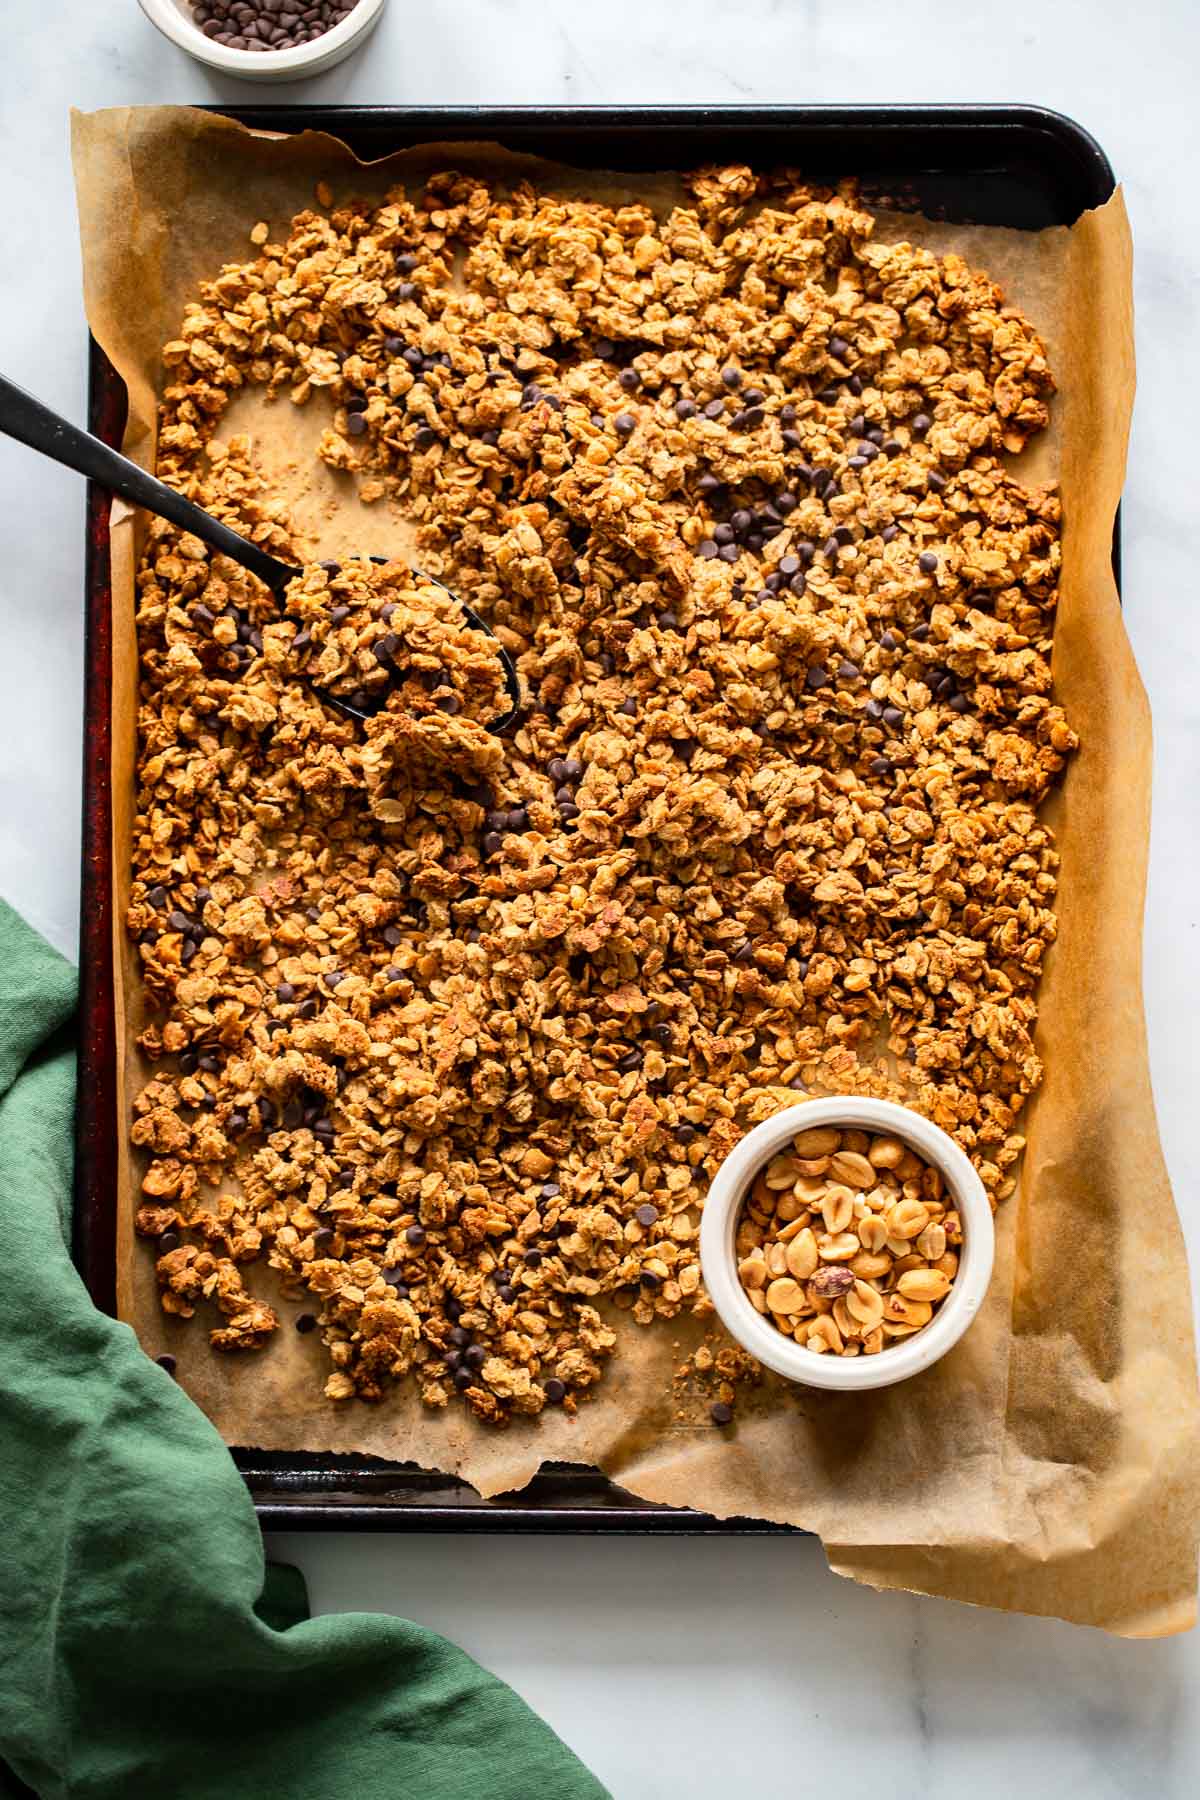
- Mini Chocolate Chips: For fun, add a bit of chocolate after the granola has cooled. I love to mix in some mini semisweet chocolate chips.
Step by Step
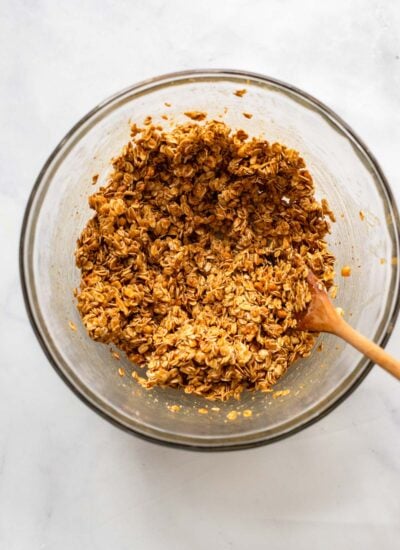
STEP ONE: Mix the peanut butter, oil, maple syrup, and vanilla extract together in a large bowl with a whisk. Stir in the rest of the ingredients until everything is coated in the peanut butter mixture.
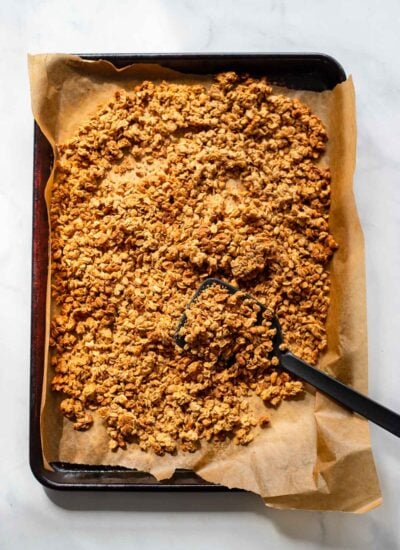
STEP TWO: Transfer the oat mixture to a sheet pan lined with parchment paper. Bake for 40-45 minutes or until browned. Allow to cool to room temperature before breaking apart into pieces and serving or storing in a jar or airtight container in the pantry.
Chunky Granola Tips
- Line your baking sheet with parchment paper so that the maple sticks to the granola and doesn’t stick to the pan.
- When spreading the granola onto the baking sheet, lightly press everything together onto the pan in one large mass. You want everything to be touching so that the individual oats/nuts/coconut stick together as they bake.
- Make sure to let your granola cool completely before transferring it into a storage container. The cooling time allows the sugar in the maple syrup to harden again and allow the clumps to form for a chunky granola.
Want even more peanut butter recipes? Check out my roundup of 13+ sweet and savory vegan peanut butter recipes from the blog!
Recipe FAQs
Yes! Granola is often full of fiber thanks to the oats which is an excellent source of whole grains as well as healthy fats from nuts and seeds or the peanut butter in this version.
We’ve found that homemade granola lasts for up to 1-2 months in the pantry in a jar or airtight container. If you live in a more humid climate, the shelf life may be a bit shorter. Freezing your granola in a Ziploc bag can extend the shelf life even more.
Yes, for best results you’ll want to use parchment paper for your homemade granola. It makes sure that all the maple syrup adheres to the granola itself rather than the pan so you’ll get crunchier granola with big chunky pieces. Plus, it makes it so much easier to transfer to a storage container!
How to Serve
Here are a few of my favorite ways to enjoy this healthy granola recipe:
- Straight from the container – It makes a tasty snack all on its own! I pack it in a jar or small Tupperware container when taking it on the go.
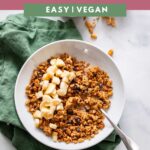
- With milk – Serve it up in a bowl with some non-dairy milk like almond milk and chopped banana or berries.
- With yogurt – Sprinkle it on a bowl of yogurt. I like to use either unsweetened or vanilla yogurt with this granola.
- On a smoothie – Stir it into a smoothie like this chocolate strawberry banana smoothie or this berry protein smoothie.
Looking for even more ideas for what to eat with granola? Check out this post for 21 healthy ideas for what to eat with granola from a plant-based dietitian!
More Delicious Breakfast Recipes
- Chocolate Raspberry Granola
- Healthy Vegan Breakfast Cookies
- Easy Vegan Breakfast Tacos
- Mini Vegan Frittatas
- Healthy Pumpkin Granola
Did you love this recipe? Make sure to leave a ⭐️ rating and tag #dietitiandebbie on instagram!
Healthy Peanut Butter Granola
Ingredients
- 1/2 cup creamy peanut butter
- 1/2 cup maple syrup
- 1/4 cup olive oil
- 1 teaspoon vanilla extract
- 2 3/4 cups gluten free old fashioned rolled oats
- 2 tablespoons ground flaxseeds
- 1/3 cup chopped unsalted peanuts
- 1/2 teaspoon sea salt
- 1/3 cup mini semi sweet chocolate chips (optional)
Instructions
- Preheat the oven to 350 degrees Fahrenheit. Line a baking sheet with parchment paper and set aside.
- Add the peanut butter, maple syrup, oil, and vanilla extract to a mixing bowl and whisk well to combine.
- Add the oats, ground flaxseed, chopped peanuts, and salt. Stir well.
- Spread oat mixture onto baking sheet. Bake for 40-45 minutes until golden brown.
- Transfer pan to cooling rack and allow to cool to room temperature. Add the chocolate chips. (You can also add dried fruit like raisins at this point if you'd like.) Store in airtight containers.
Notes
- Make sure to line your baking sheet with parchment paper so that your granola doesn’t stick to the pan. This also helps make chunkier granola.
- Allow your granola to cool completely on the pan before breaking it apart and transferring to a storage container.
- Granola will crisp up as it cools.
- Store cooked granola in an airtight container in the pantry for up to a month.
Nutrition
Make this recipe?
Share it with me on Instagram @dietitiandebbie and tag me #dietitiandebbie

Comments & Reviews
I’m trying to do the math… do you know what one serving size is equal to? Thank you.
Each serving is about 1/3 cup.